
Creating projects with the Official Arduino Starter Kit is a rewarding experience that combines creativity and technical skills. Documenting and sharing these projects online not only helps you keep track of your work but also contributes to the maker community by providing valuable resources for others. In this post, we’ll explore effective ways to document your Arduino projects and share them online to inspire and help fellow enthusiasts.
Why Document Your Projects?
- Personal Reference: Detailed documentation helps you revisit and improve your projects in the future.
- Community Contribution: Sharing your projects can inspire others and provide them with a starting point for their own creations.
- Feedback and Collaboration: Publicly sharing your work allows you to receive feedback, suggestions, and collaborate with other makers.
- Portfolio Building: Well-documented projects can be showcased in your portfolio, useful for job applications or freelance opportunities.
Steps to Document Your Arduino Projects
- Define Your Project Scope: Clearly outline what your project aims to achieve. Describe its purpose, functionality, and the problem it solves.
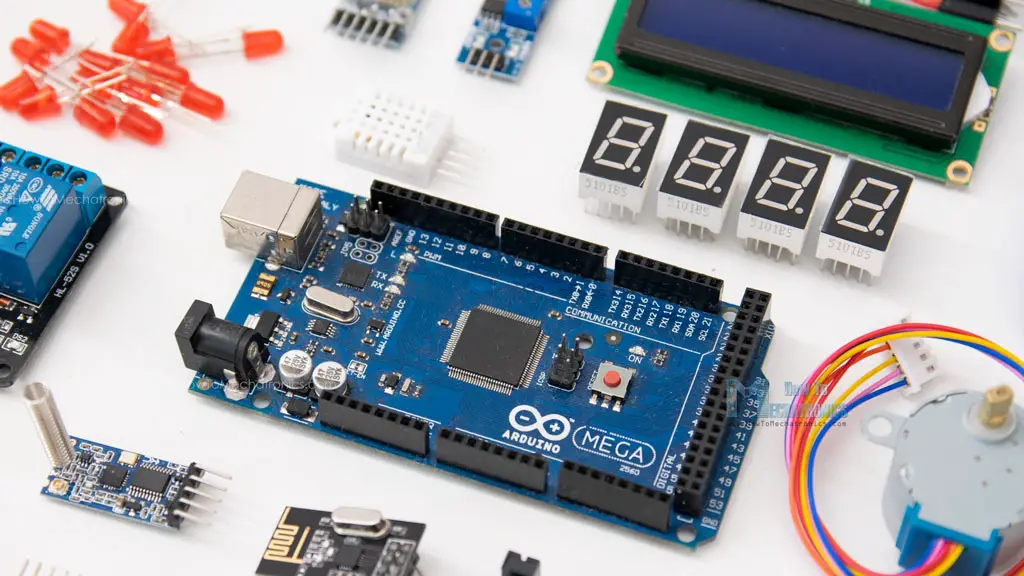
- List Components and Tools: Provide a detailed list of all the components and tools you used, including the Arduino board, sensors, resistors, wires, and any other necessary items.
- Create a Circuit Diagram: Use software like Fritzing to create a clear circuit diagram that shows how all components are connected. This visual aid is crucial for helping others replicate your project.
- Write Detailed Instructions: Break down your project into manageable steps. Include detailed instructions for each step, from assembling the circuit to writing and uploading the code.
- Share the Code: Include the complete Arduino code in your documentation. Highlight important sections and explain how they work. Use comments within the code to make it more understandable.
- Add Photos and Videos: Take clear photos of your project at various stages of development. Videos demonstrating the project in action can be particularly helpful and engaging.
- Include Troubleshooting Tips: Mention any challenges you faced and how you resolved them. This can be incredibly helpful for others who might encounter similar issues.
- Provide a Summary: Conclude your documentation with a summary that recaps the project’s purpose, key components, and outcomes.
Platforms to Share Your Projects
- Arduino Project Hub: Arduino’s official platform allows you to publish your projects, reach a large audience, and explore others’ work for inspiration.
- Create an account on the Arduino Project Hub.
- Follow the instructions to upload your project, including descriptions, code, and media.
- GitHub: GitHub is a popular platform for sharing code and collaborating on projects. It’s excellent for managing version control and enabling others to contribute to your work.
- Create a repository for your project.
- Upload your code, documentation, and any related files.
- Use Markdown to format your README file for a clean and professional look.
- Hackster.io: Hackster.io is a community for hardware projects, similar to Arduino Project Hub but broader in scope.
- Sign up and create a project page.
- Upload your documentation, code, and media.
- Instructables: Instructables is a platform for DIY projects, providing a detailed, step-by-step format ideal for Arduino projects.
- Sign up and create a new Instructable.
- Follow the platform’s step-by-step guide to upload your project.
- Personal Blog or Website: If you prefer a personalized approach, consider creating a blog or website to showcase your projects.
- Use platforms like WordPress, Wix, or GitHub Pages.
- Customize your site to reflect your style and include detailed project pages.
Tips for Effective Sharing
- Engage with the Community: Respond to comments and questions on your project pages. Engaging with the community can lead to valuable feedback and new ideas.
- Use Social Media: Promote your projects on social media platforms like Twitter, Instagram, and LinkedIn. Use relevant hashtags to reach a broader audience.
- Join Forums and Groups: Participate in Arduino forums and online groups. Share your projects and seek advice and feedback from other members.
Example Project Documentation
To give you a concrete example, here’s a simplified version of what project documentation might look like:
Project Title: Home Temperature and Humidity Monitor
Objective: Create a device to monitor and display home temperature and humidity using the Official Arduino Starter Kit.
Components:
- Arduino Uno
- DHT22 temperature and humidity sensor
- 16×2 LCD display
- Breadboard
- Jumper wires
- 10k ohm resistor
Circuit Diagram: (Include a Fritzing diagram)
Step-by-Step Instructions:
- Assemble the Circuit:
- Connect the DHT22 sensor: VCC to 5V, GND to GND, Data to digital pin 2, and a 10k ohm resistor between Data and VCC.
- Connect the LCD: Follow the standard wiring for a 16×2 LCD display.
- Upload the Code:cppCopy code#include <DHT.h> #include <LiquidCrystal.h>#define DHTPIN 2 #define DHTTYPE DHT22DHT dht(DHTPIN, DHTTYPE); LiquidCrystal lcd(12, 11, 5, 4, 3, 2);void setup() { lcd.begin(16, 2); dht.begin(); }void loop() { float h = dht.readHumidity(); float t = dht.readTemperature();lcd.setCursor(0, 0); lcd.print(“Temp: “); lcd.print(t); lcd.print(” C”);lcd.setCursor(0, 1); lcd.print(“Humidity: “); lcd.print(h); lcd.print(” %”);delay(2000); }
Photos/Videos: (Include clear images of the assembled circuit and a video demonstration)
Troubleshooting Tips:
- Ensure the DHT sensor is connected properly and the pull-up resistor is in place.
- Check the contrast adjustment on the LCD if the text is not visible.
Summary: This project successfully monitors and displays temperature and humidity using the DHT22 sensor and an LCD. It provides real-time data, making it a useful addition to your home monitoring systems.
Conclusion
Documenting and sharing your Arduino projects online enhances your learning experience and contributes to the broader maker community. By following the steps outlined in this guide, you can create detailed, helpful documentation and share your work on various platforms. Whether you’re looking to inspire others, receive feedback, or build a portfolio, proper documentation and sharing are key.